In this tutorial we will be learning about how to customize your windows terminal with anaconda or any other program that runs in the command prompt.
First of all we will install windows terminal and then anaconda.
Installing Windows Terminal
The requirements for installing windows terminal is that your Windows 10 Operating system must have a build from 1903 and newer.
Then you can search for windows terminal in your Microsoft Store and then install.(You will have to sign in to install)
Installing Anaconda
Anaconda is a power set of libraries and packages useful for data science. It consists of over 100 most important packages needed for data science and machine learning. You can download it from their official website here and install.
It requires Microsoft Build Tools for some packages to work hence you will need to install that one also.
Ok, after the installation of all the necessary tools let us see how to add Anaconda to your windows terminal
Adding Anaconda Prompt to Windows Terminal
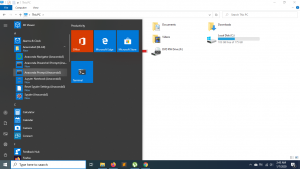
Open your Anaconda Prompt, you can find it by using the search option in your taskbar or you can use the windows start button (the button with the Microsoft Logo).
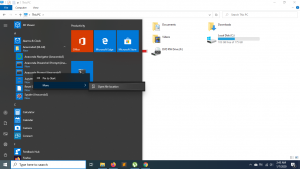
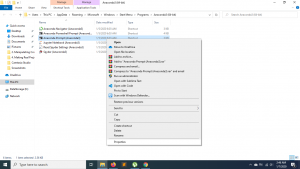
Right Click and Copy the Path
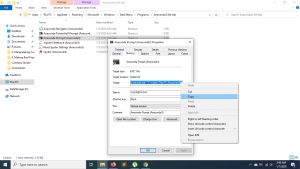
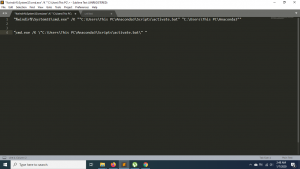
Modify the Path to be able to run it from the terminal as below
Open Windows Terminal
Select Settings and it will open a profile.json file that you can add your customization.

Then duplicate one of them and modify the guid (it needs to be different) and the name that you want it to be. Then on the line with the term ‘commandLine ‘ you add the path to executable anaconda file like below.
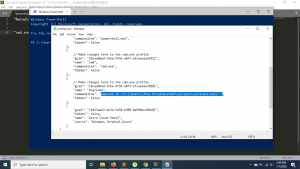
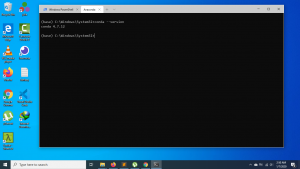
Then save the changes. And You can now see it in the windows terminal.
Thanks For Your Time
Jesus Saves
By Jesse E.Agbe(JCharis)