Building a scalable service involves making the service more reliable and easy to manage. In this tutorial we will explore how to deploy a web API built with FastAPI that has a Redis DB for storing the job ids and files and a Redis Queue to manage the jobs and scheduled task.
We will be using docker-compose that consist of the following services – each service will be one container (web api,redis, redis worker and none for the dashboard). The dashboard is mounted on Fastapi so no need for another container.
We will simplify our deployment using docker compose or podman compose. You can create a docker-compose.yml or compose.yml file and add the following configuration code into it as shown below.
version: '3.8'

services:
  web:
    build: .
    ports:
      - "8000:8000"
    depends_on:
      - redis
    environment:
      - REDIS_URL=redis://redis:6379
    command: uvicorn main:app --host 0.0.0.0 --port 8000

  redis:
    image: redis:alpine
    ports:
      - "6380:6379"

  worker:
    build: .
    depends_on:
      - redis
    environment:
      - REDIS_URL=redis://redis:6379
    command: rq worker --url redis://redis:6379
Our Docker Compose file defines four services:
web: This service runs your FastAPI application.redis: This service runs a Redis instance.worker: This service runs an RQ worker to process jobs.dashboard: This service runs the RQ dashboard but is will be a mount on the web app
We will have to create a dockerfile to use this Docker Compose file. You need to ensure that the Dockerfile is in the same directory. Here is the Dockerfile details we will be using.
FROM python:3.13

WORKDIR /app

COPY requirements.txt .
RUN pip install --no-cache-dir -r requirements.txt

COPY . .

CMD ["uvicorn", "main:app", "--host", "0.0.0.0", "--port", "8000"]
You’ll also need to create a requirements.txt file with all the necessary dependencies:
fastapi
uvicorn
redis
rq
rq-dashboard-fast
pyyaml
python-multipart
Finally, you’ll need to modify your FastAPI code slightly to use the Redis URL from the environment variable:
import os
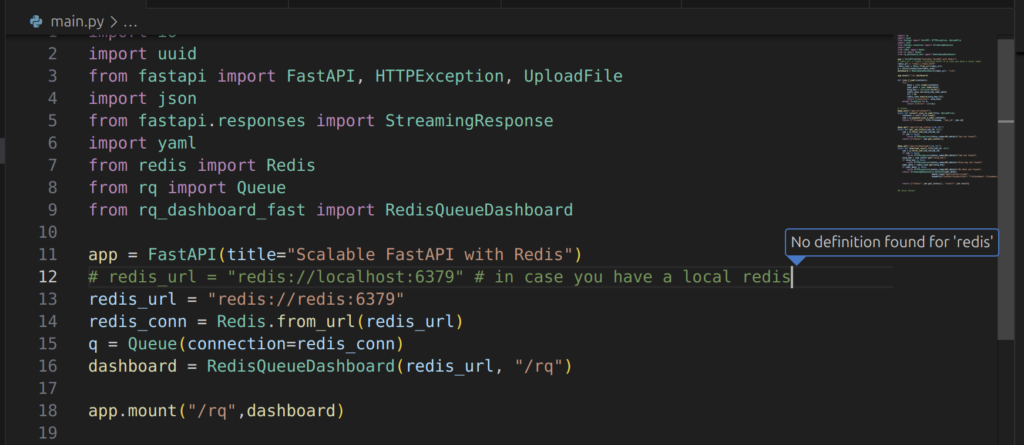
redis_url = os.getenv("REDIS_URL", "redis://redis:6379")
redis_conn = Redis.from_url(redis_url)One thing to keep in mind is that the redis_url is not set to localhost but to redis. This is important since everything is within the container.
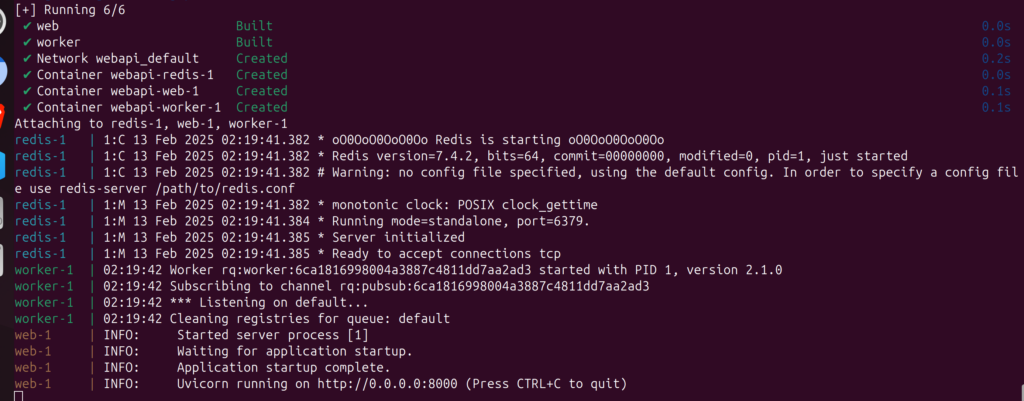
You can start your application using docker-compose up –build. The –build is useful for rebuilding – ie pulls the images and build the containers ensuring that new changes are reflected.
docker-compose up --build
This will build the Docker images and start all the services.
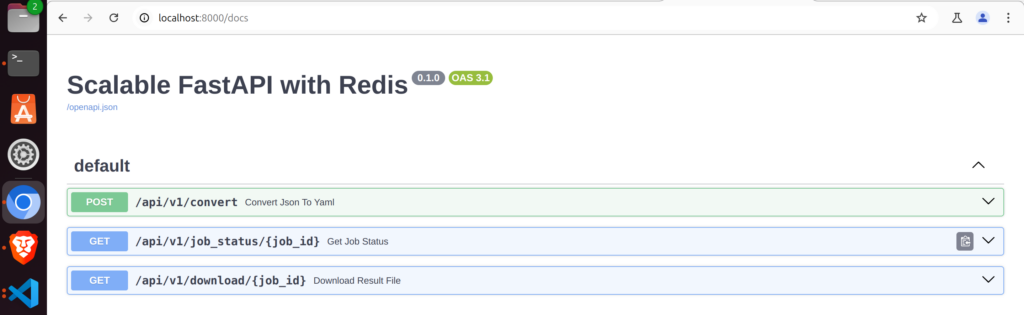
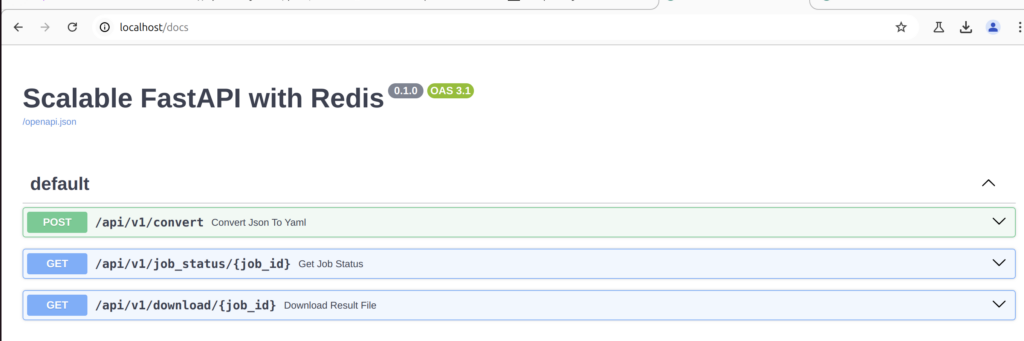
We can now open our browser and check for the FastAPI application which will be accessible at http://localhost:8000.
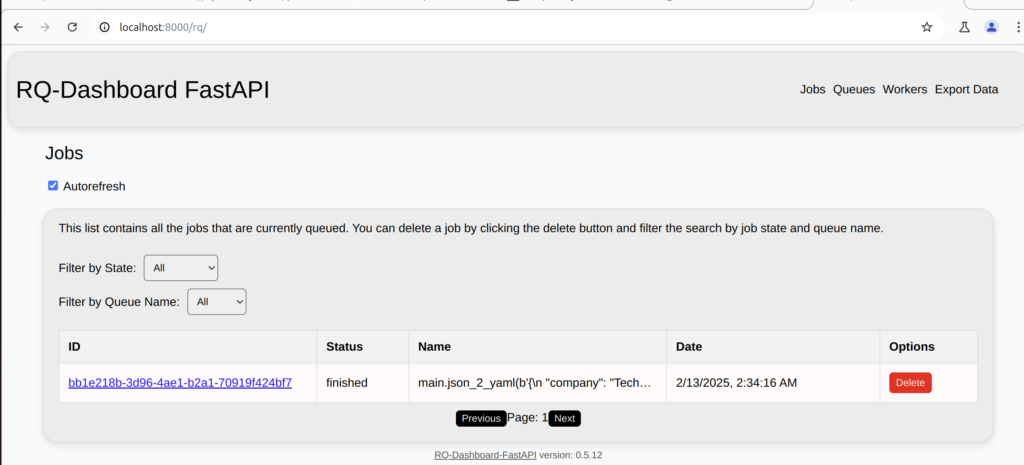
To access the RQ dashboard we will check the same URL but at /rq as in this example at http://localhost:8000/rq.
Issues
In case you have issues with a listening port being busy you can change the host port as below
services:
  redis:
    image: redis:alpine
    ports:
      - "6380:6379"

  web:
    build: .
    environment:
      - REDIS_URL=redis://redis:6379
In this example, the Redis service maps port 6379 inside the container to port 6380 on the host machine. The web service (or any other service in the same Docker Compose file) would still connect to Redis using redis:6379. The service name redis is resolved to the container’s IP address within the Docker network.
However If you want to connect to Redis from your host machine or an external application, you would use localhost:6380 or 127.0.0.1:6380
You can also add networks for the containers in the docker compose, this is done by default however you can be explicit and set a network-bridge (app-network) for all the containers /services in the docker compose.
services:
  web:
    build: .
    ports:
      - "8000:8000"
    depends_on:
      - redis
    environment:
      - REDIS_URL=redis://redis:6379
    command: uvicorn main:app --host 0.0.0.0 --port 8000
    networks:
      - app-network

  redis:
    image: redis:alpine
    ports:
      - "6380:6379"
    volumes:
      - redis-data:/data
    command: redis-server --appendonly yes --bind 0.0.0.0
    networks:
      - app-network

  worker:
    build: .
    depends_on:
      - redis
    environment:
      - REDIS_URL=redis://redis:6379
    command: rq worker --url redis://redis:6379
    networks:
      - app-network

networks:
  app-network:
    driver: bridge

volumes:
  redis-data:
The redis services is configured to bind to all interfaces (0.0.0.0) and not just localhost and use append-only file for persistence. We also add a named volume redis-data. This will be used for redis data persistence.
Adding Reverse Proxy using Nginx
In case you have a domain name and ssl certificate, you can actually deploy this service and access it at your specified domain name using Nginx or Traefik.
Let us try a simple example about how to use a reverse proxy locally and then non locally.
First you will need to add an Nginx container as a reverse proxy to redirect the traffic to your containers on port 80.
version: '3.8'

services:
  web:
    build: .
    expose:
      - "8000"
    environment:
      - REDIS_URL=redis://redis:6379
    command: uvicorn main:app --host 0.0.0.0 --port 8000
    networks:
      - app-network

  redis:
    image: redis:alpine
    volumes:
      - redis-data:/data
    command: redis-server --appendonly yes
    networks:
      - app-network

  worker:
    build: .
    depends_on:
      - redis
    environment:
      - REDIS_URL=redis://redis:6379
    command: rq worker --url redis://redis:6379
    networks:
      - app-network


  nginx:
    image: nginx:alpine
    ports:
      - "80:80"
      - "443:443"
    volumes:
      - ./nginx.conf:/etc/nginx/nginx.conf:ro
      - ./certs:/etc/nginx/certs:ro
    depends_on:
      - web
    networks:
      - app-network

networks:
  app-network:
    driver: bridge

volumes:
  redis-data:
You will notice that this time we do not have port for the web service but rather we are exposing port 8000. This means the port 8000 is only exposed internally within the Docker network, but not published to the host machine. Only the nginx service specifies ports. This ensures that the Nginx service is accessible from the outside on the normal recommended ports 80 and 443.
nginx:
  ports:
    - "80:80"
    - "443:443"
This configuration is typical for a setup where:
- Nginx acts as a reverse proxy, handling all external traffic.
- Other services (web, dashboard, etc.) are only accessible internally within the Docker network.
- Nginx routes requests to the appropriate internal services based on its configuration
The second item we need is the Nginx.conf file where we specify the configurations for the reverse proxy and dns.
You will have to create an nginx.conf file in the same directory as your Docker Compose file as below.
events {
    worker_connections 1024;
}

http {
    upstream web {
        server web:8000;
    }

    server {
        listen 80;
        server_name yourdomain.com;
        return 301 https://$server_name$request_uri;
    }

    server {
        listen 443 ssl;
        server_name yourdomain.com;

        ssl_certificate /etc/nginx/certs/yourdomain.com.crt;
        ssl_certificate_key /etc/nginx/certs/yourdomain.com.key;

        location / {
            proxy_pass http://web;
            proxy_set_header Host $host;
            proxy_set_header X-Real-IP $remote_addr;
        }

    }
}
You can now run docker-compose up –build and access your app on the custom domain you have bought.
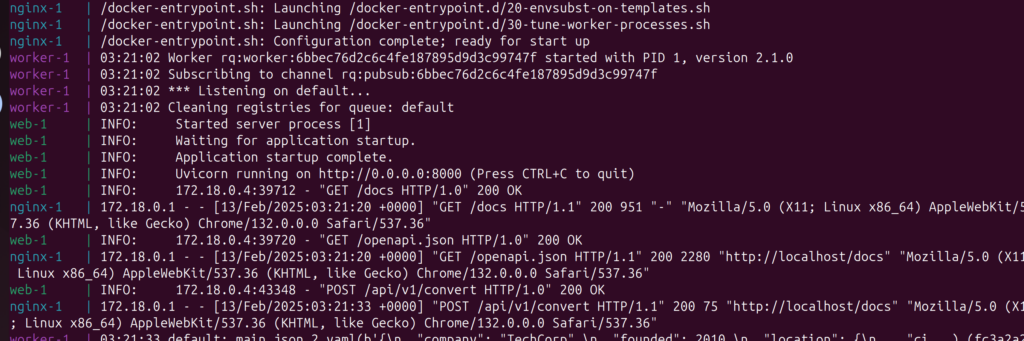
In case you want to try this locally without a custom domain name yet, you can use this nginx conf example below and access your app on http://localhost
events {
    worker_connections 1024;
}

http {
    upstream web {
        server web:8000;
    }

    server {
        listen 80;
        server_name localhost;

        location / {
            proxy_pass http://web;
            proxy_set_header Host $host;
            proxy_set_header X-Real-IP $remote_addr;
        }


    }
}
We have seen how to run and deploy with docker-compose a FASTAPI web API that has a Redis Queue. You can check out the video tutorial on the main application below.
Happy Coding
Jesus Saves
By Jesse E.Agbe(JCharis)